


Log in
Botanical cyanotypes: from blue to endless possibilities
Themes:
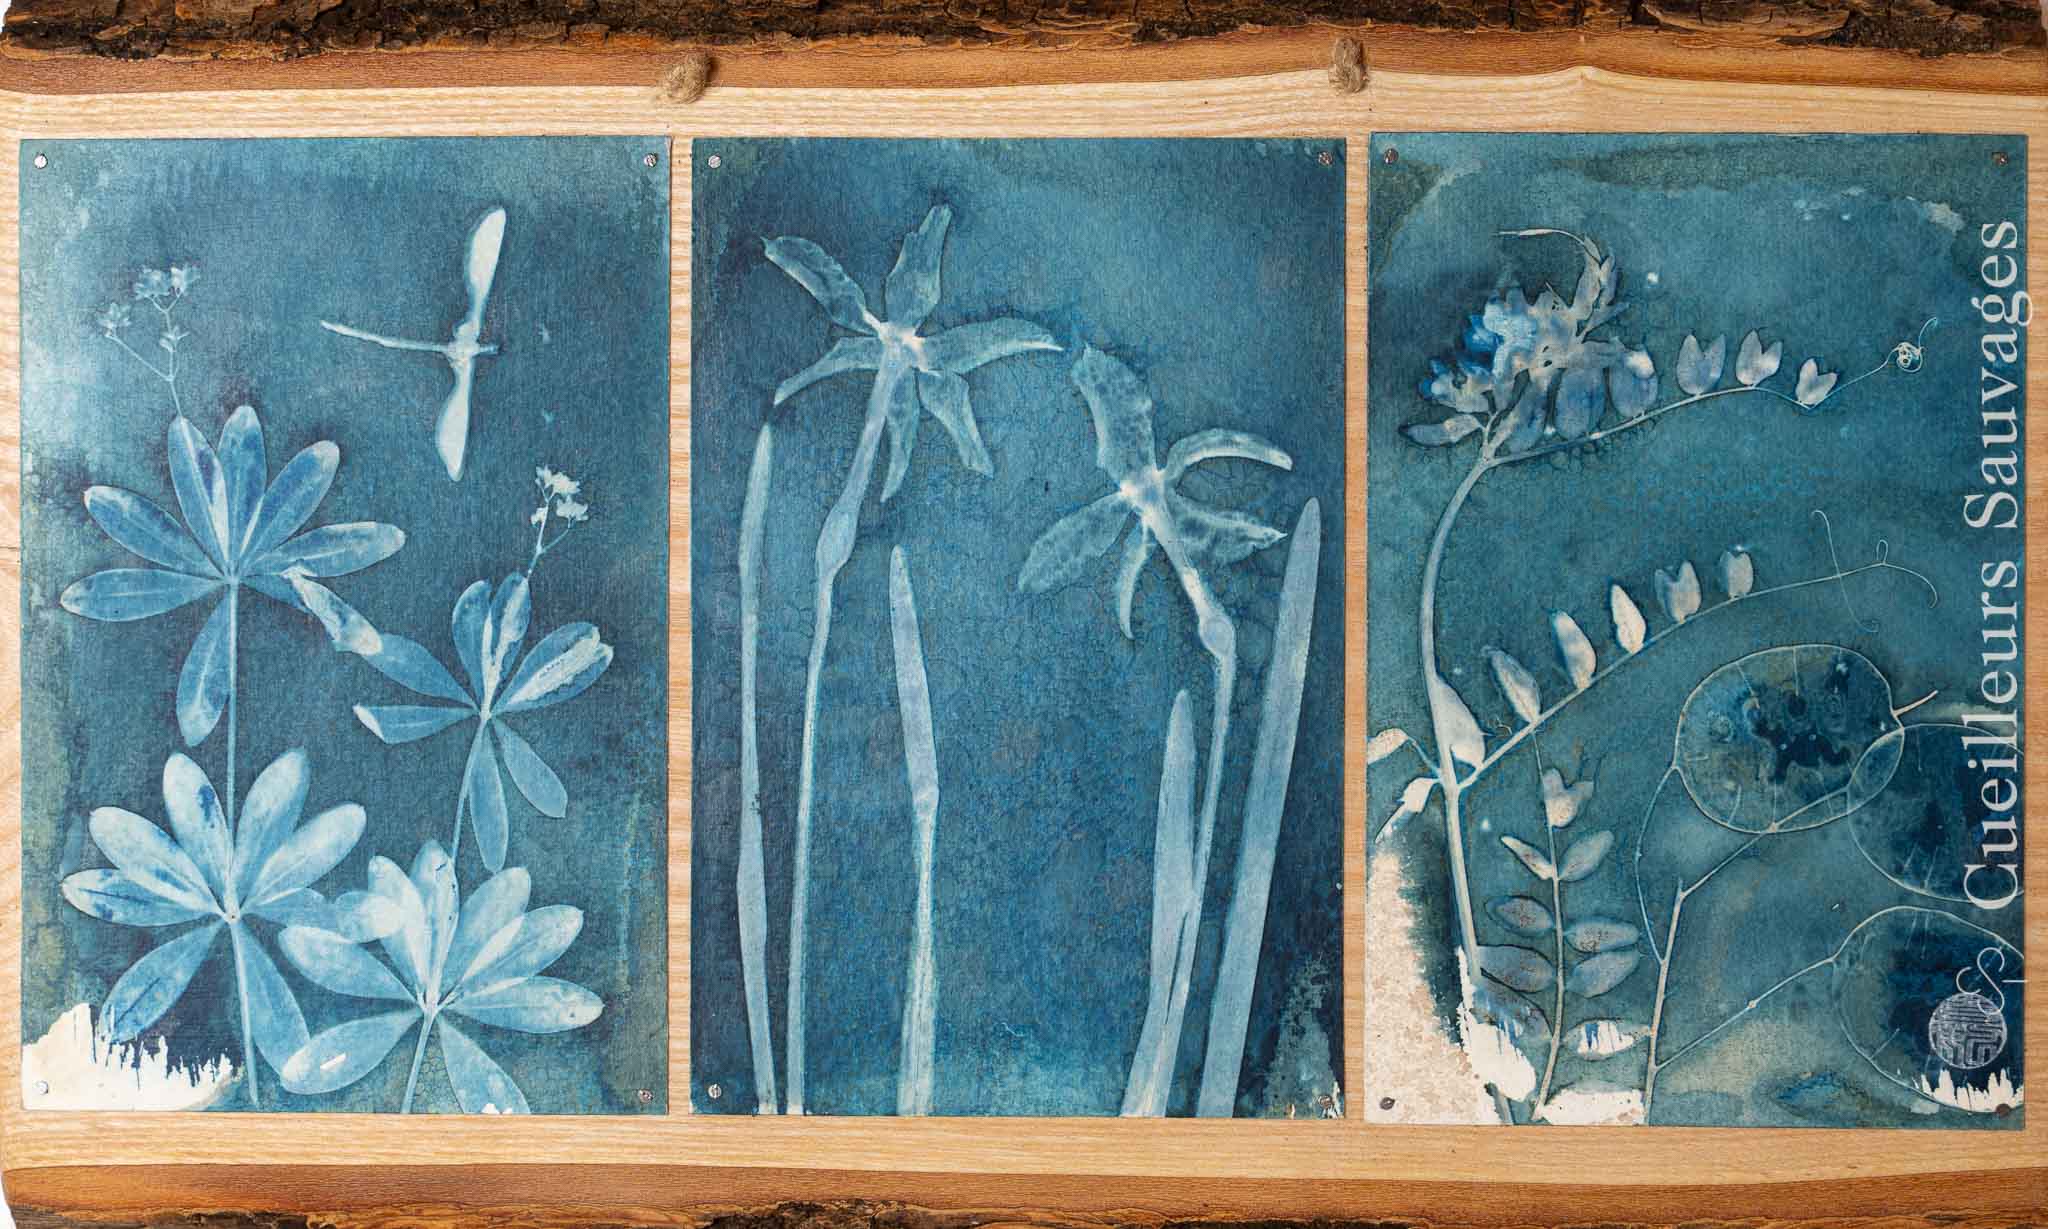
Botanical cyanotypes are plant prints in shades of deep blue. They are enchanting, opening up an infinite range of possibilities for creating works connected with the plant world and helping us feel closer to nature.
In this article, I share my explorations of botanical cyanotype on different surfaces: paper, wood, stone and fabric. For each one, I offer tips to help you achieve good results with your nature art creations.
I love this artistic technique for its beauty and simplicity, as it allows me to connect with the plants growing near my home. Even children can have fun exploring the plant world by making botanical cyanotypes; it is very educational.

What is botanical cyanotype?
John Frederick William Herschel discovered and experimented with the cyanotype process in the 1840s. Cyanotype is one of the oldest monochrome processes based on the sensitivity of iron salts to light. The paper is coated with a solution of ferric ammonium citrate and potassium ferricyanide using a brush, away from light. The print is made by placing a negative or other objects, such as plants, on the paper. Exposure to natural light takes about 15 minutes, changing the composition of the iron salts. The paper is then rinsed in water to dissolve the unexposed iron salts and left to dry. It is during this drying process that the Prussian blue pigment characteristic of the process forms[1].

A little later, Anna Atkins, a British botanist with a scientific education from her father, illustrated books on mollusks and created a herbarium using this technique [2]. As early as 1843, she used cyanotype to produce photograms of algae in her book Photographs of British Algae. Recognizing the importance of illustrations in botany, she then applied this method to ferns, publishing Cyanotypes of British and Foreign Ferns in 1853. She thus became a pioneer of scientific photography, popularizing this monochrome process [3, 4].
Botanical cyanotypes on paper in many forms
For the paper-based process, there are several ways to do it:
- Conventional cyanotype
- Wet or experimental cyanotype
Conventional cyanotype involves four steps. First, the iron salt solutions are mixed and the liquid is applied to the paper away from light. The plants are then arranged on the paper and exposed to the sun. UV light reacts with the salts to create blue pigments. In the final step, the paper is washed with water, and the blue develops through oxidation.


Personally, I like using wet cyanotypes to break up the blues and add extra shades and textures. This is the technique I teach in our workshops at Les Pléiades.
What’s wonderful is that cyanotypes can be used to make cards, bookmarks, pictures and even jewellery. To make these bracelets, I used watercolour paper, which I glued onto a bracelet base.
Which products and paper should you use?
You can use various products: I use the Jacquard or Claire Fontaine product kits, but there are others. You can find them in stationers’ and art shops, or online (Amazon, Boesner…); look for a supplier in your area.
For paper, you can use watercolour paper weighing around 300 g, Chinese paper, or even tracing paper with a weight of at least 90 g/m². Here is a video showing how architects’ tracing paper (90 g/m²) can be used to make a lantern, glued onto glass with flour paste and paper made from daylily leaves. The leaves are simply soaked in water, without any chemicals or other materials. This method is called water retting.
Precautions when making cyanotypes
It is essential to take the first rinse water to a hazardous-waste disposal centre, as potassium ferricyanide is harmful to aquatic wildlife, according to the WHO. I put it in a bottle labelled «Cyanotype». Sorting our waste is one of those simple actions that helps us practise art responsibly, in an environmentally friendly way and with respect for nature.
The International Chemical Safety Card (ICSC) for potassium ferricyanide, one of the two products used in the cyanotype solution, tells us that it «may be hazardous to the environment. Special attention should be given to aquatic organisms.» It also states: «DO NOT let this chemical enter the environment. Collect leaking and spilled liquid in sealable containers. Then store and dispose of it in accordance with local regulations.» [5]
Tip for adding nuance to colors
Once the cyanotype had dried, I applied an acrylic varnish to give the colours a slightly greyed look, like faded denim. This will tone down the blue and create shades that go very well with certain clothes. If you want to keep the blues intact, simply varnish your cyanotypes with homemade starch glue made from flour and water.


Botanical cyanotypes on wood
Porous materials make good surfaces for beautiful cyanotypes, and wood works well. However, each type of wood will give a different result.

In this image, I used fir plywood, which is a soft wood, to achieve a more subtle effect, like a background.
Tip for wood
- Using light-coloured wood such as birch, poplar or pine gives better contrast with the Prussian blue of the cyanotype.
- The wood should be untreated and well sanded, ideally with a grit of around 180, to help the solution adhere.
- Treated wood or plywood can be used, but the shades of blue may vary and be less durable.
- Hardwoods hold the solution better on the surface, which encourages the reaction to UV light, but the colour may fade more easily when rinsed. Softwoods absorb more, which can produce softer results. It is therefore recommended that you experiment to achieve the result you want.
Botanical cyanotypes on stone
Stones, shells, and porous ceramics are wonderful surfaces for cyanotypes. However, they must be carefully chosen to ensure the final image is visible and aesthetically pleasing.
How to proceed with botanical cyanotype on stone?
- It is essential to choose a porous, light-coloured stone, such as a white pebble, a grainy sandstone or any natural, unpolished and untreated stone, for better contrast with the blue. Porosity is crucial, as it allows the light-sensitive solution to be absorbed and adhere well to the surface. To check whether a stone is porous, place a drop of water on it: if it is absorbed, the stone is suitable; if it remains on the surface, the stone is not suitable.
- Wash the stone thoroughly and, if you like, sand it to make it a little smoother.
- In a room without direct UV light, apply the cyanotype solution twice in succession and, once it is thoroughly dry, arrange the plants on it.
- Use cling film to flatten your plants against the stone.
- Expose it to the sun for at least 1 hour, then rinse.
- Apply an acrylic varnish to protect it. Keep it out of direct sunlight.
In Switzerland, where we live, collecting a few small pebbles is generally not prohibited, except in areas where local regulations apply or where protected areas exist. In France, collecting pebbles from beaches is more strictly regulated and can be prohibited or penalized.
Botanical cyanotypes on fabric: beautiful, but less eco-friendly
Fabric is a wonderful material for botanical cyanotypes. However, I no longer use it, because it requires a lot more solution than other surfaces and is therefore less eco-friendly.


For a single scarf, I had to take 6 litres of waste rinse solution to a hazardous-waste disposal centre—that is enormous! With paper, it would take me more than two years to accumulate that amount for my personal use.
So I have not repeated the experiment on fabric. I will continue making prints on paper, which produce much less waste, while ensuring that I dispose of it properly at a waste disposal centre.
All this offers a vast field for learning and experimentation, allowing me to continually reflect on my interdependence with nature and seek balance within it.
Tips for working on fabric
- It is therefore recommended that you take the first rinse water to a waste disposal centre, with the chemical waste.
- To preserve the intensity of the colours, avoid machine-washing cyanotype-printed fabric or using harsh detergents.
- For best results, use a light-coloured fabric made from natural fibres (cotton, linen or hemp).
- Apply the solution evenly with a wide brush or sponge to the fabric laid flat, ideally on a smooth, non-porous surface such as a wooden board covered with plastic.
- For sharp outlines, choose flat plant material. Press it firmly against the fabric with a sheet of glass or transparent plastic, securing it with clips if necessary. If there is no wind, place a piece of cardboard over it and remove it just before exposing the fabric to the sun.
Here are our upcoming cyanotype workshops at Les Pléiades (Vaud, Switzerland), in an enchanting setting:
May 16
The Pleiades

Botanical cyanotype workshop
Lally Station, Parking, Blonay, Switzerland.
June 12
The Pleiades
Botanical cyanotype workshop
Lally Station, Parking, Blonay, Switzerland.
July 4th
The Pleiades
Botanical cyanotype workshop
Lally Station, Parking, Blonay, Switzerland.
August 29
The Pleiades
Botanical cyanotype workshop
Lally Station, Parking, Blonay, Switzerland.
No events found.
References
[1] Cyanotype, Wikipedia
[2] Women in Botany: Anna Atkins, a pioneer of botanical photography. Tela-Botanica.
[3] Anna Atkins, plant collector and doodle enthusiast. Le Point.
[4] Anna Atkins’ Cyanotypes of British and Foreign Ferns. 1853. Anna Atkins (British, 1799 – 1871), and Anne Dixon (British, 1799 – 1877).
[5] POTASSIUM FERRICYANIDE, August 2002, International Chemical Safety Cards (ICSCs)


✍️ Leave a comment


Latest articles
Sep. 18, 2026
Greater burdock (Arctium lappa): identification, harvesting and uses
August 27, 2026
Black elderberry: how to recognize it, distinguish it, and cook it
June 12, 2026
Plant Poetry Exhibition 2026
May 7, 2026
Toxicity of wild chervil leaves, Anthriscus sylvestris
March 19, 2026
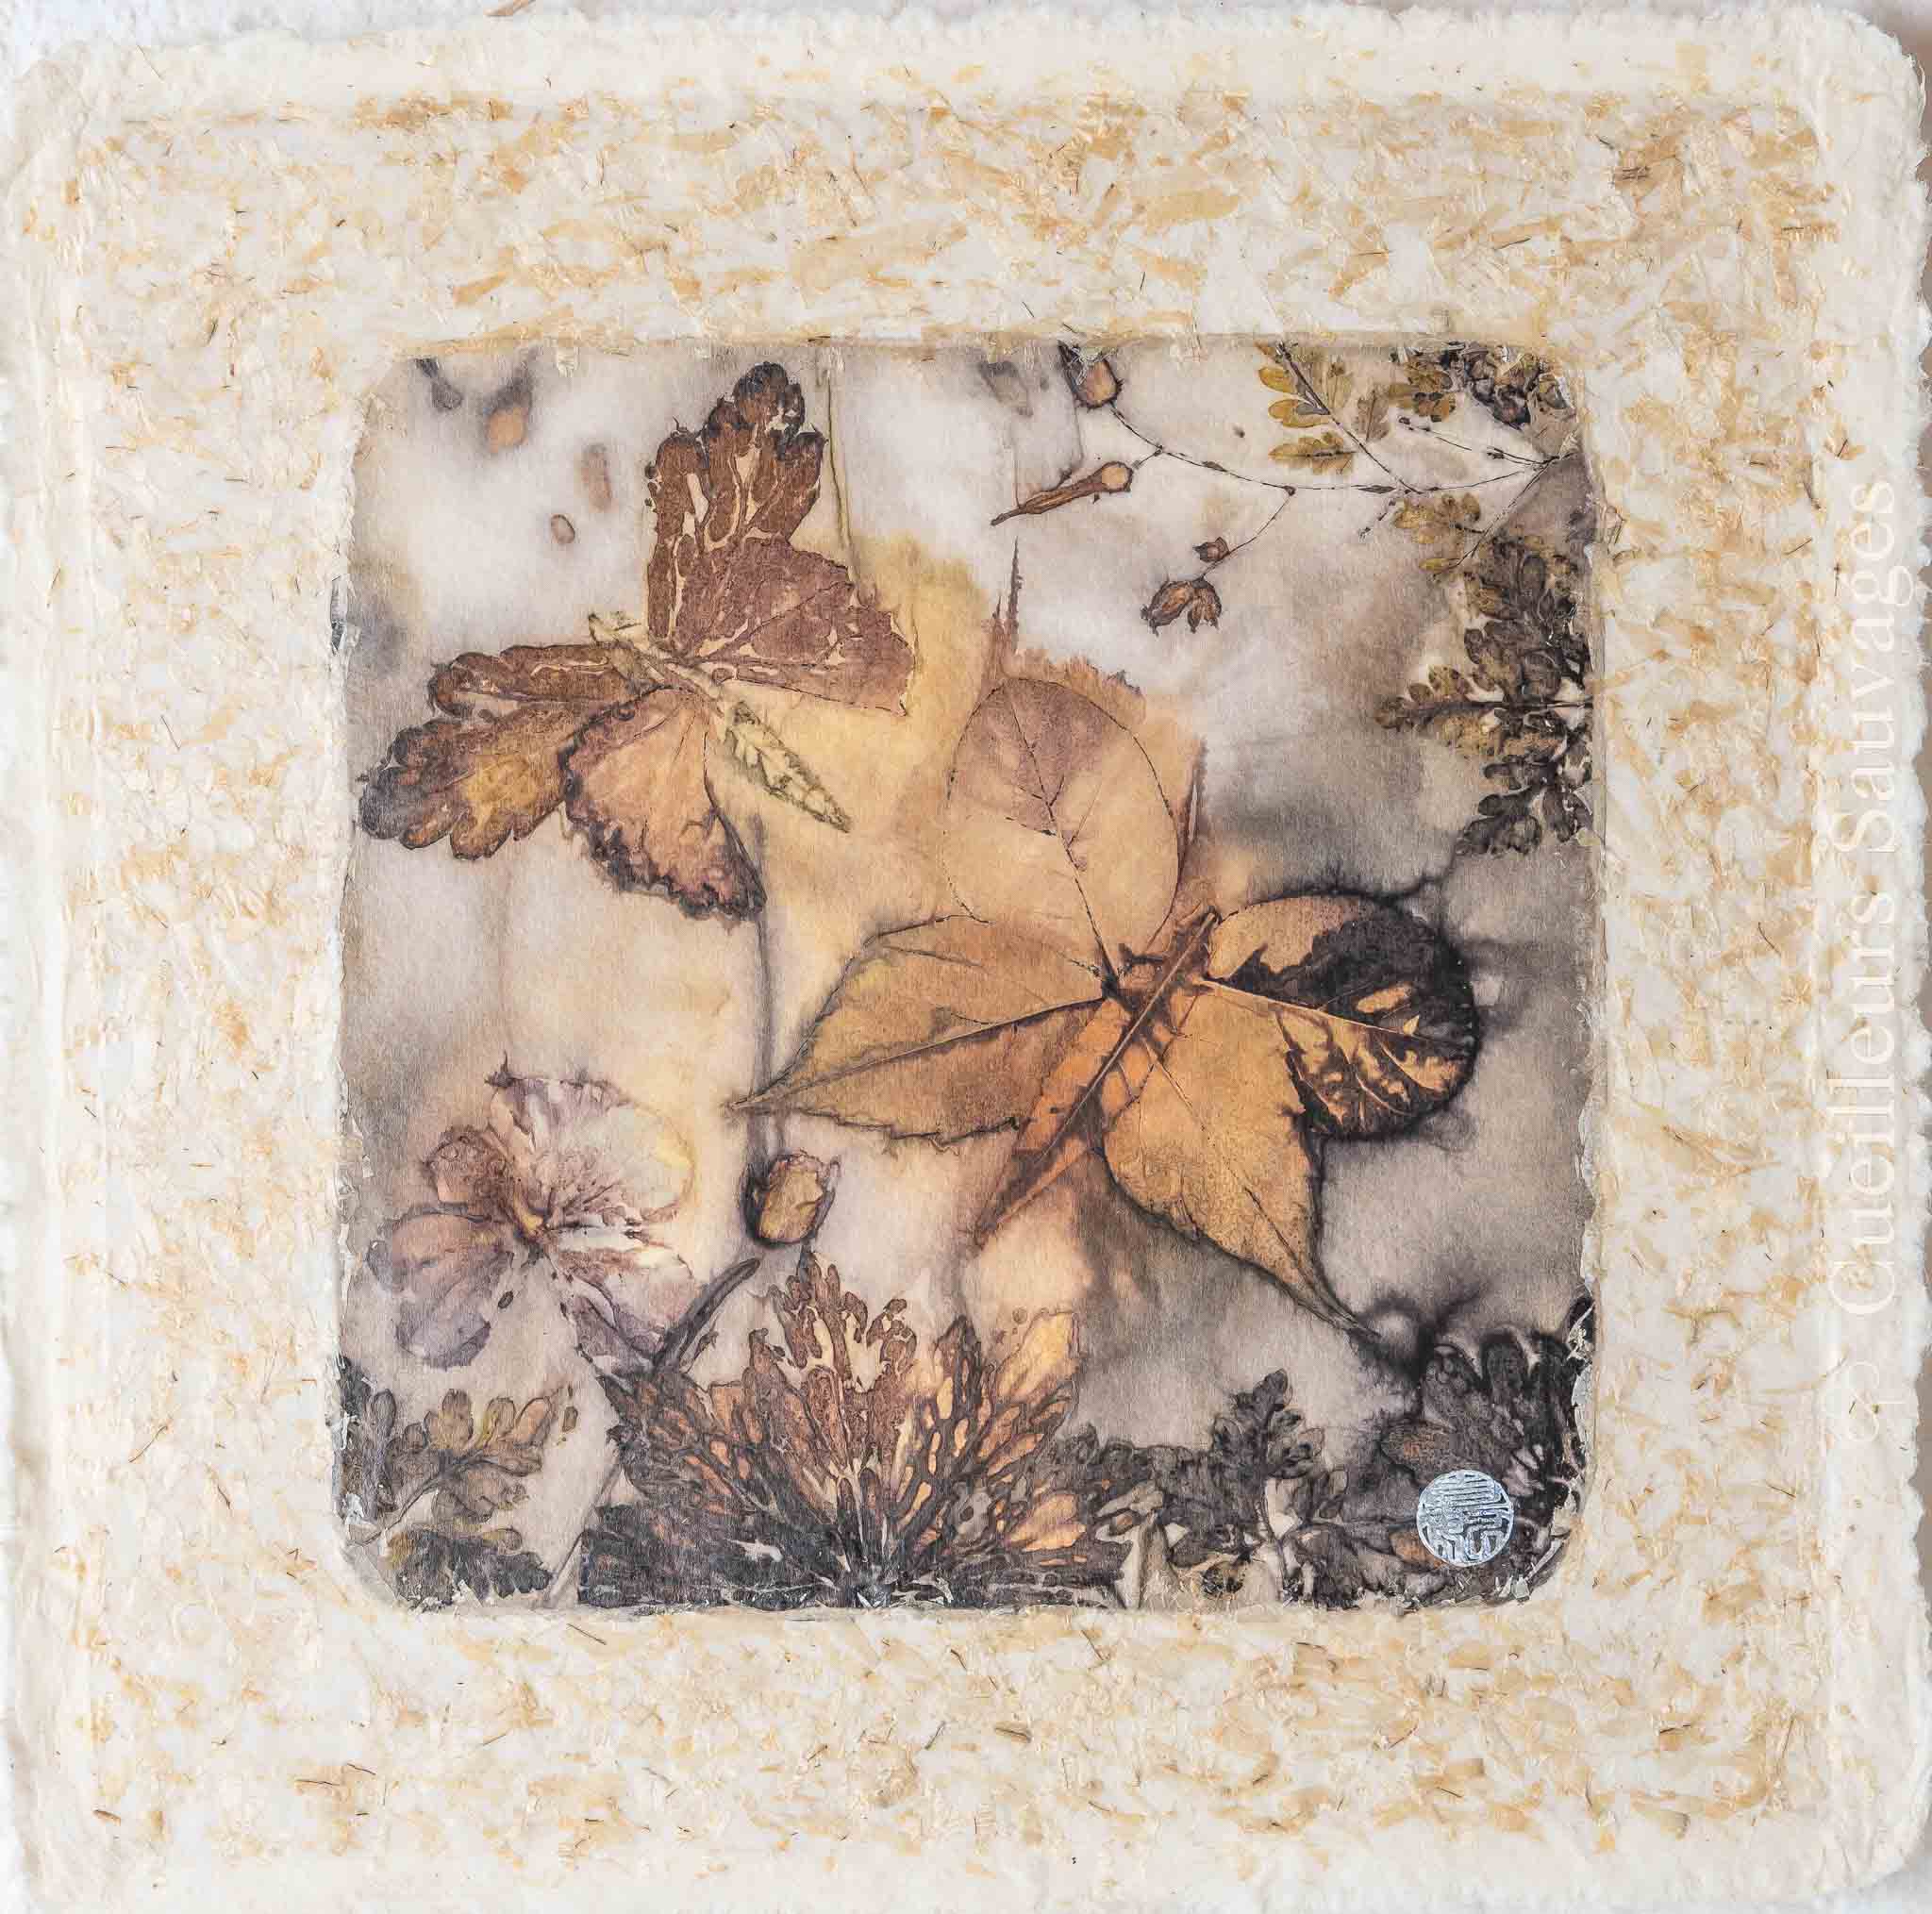
Botanical Impression in a Rust Pot
25 October
The Pleiades
- Michael Berthoud
Natural incense stick-making workshop
Lally Station, Parking, Blonay, Switzerland.
November 28
The Pleiades
- Marie Mellioret

Making a Christmas star
Lally Station, Parking, Blonay, Switzerland.
November 29
The Pleiades
- Marie Mellioret
Making a Christmas star Sold Out
Lally Station, Parking, Blonay, Switzerland.
21 March
The Pleiades
- Michael Berthoud
Natural incense stick-making workshop
Lally Station, Parking, Blonay, Switzerland.
No events found.
Cuckoo!
I've just discovered this technique, and the results have always fascinated me 😍 Is there a potential application for leather (vegetable tanned, of course; it's clear that nothing can be done with mineral-tanned leather!)? Thank you so much for all your recipes and tips; my return to the mountains thanks you! ❤️
Author
Hi Audrey, I haven't tried it on leather yet as I don't have any scraps, but yes, it's known to work! Apparently, this process works; several artists and craftspeople have experimented with this technique, particularly for objects like drums or accessories, and they've shared positive results.
The leather should be clean, dry, and, if possible, lightly sanded to improve the adhesion of the photosensitive solution. Enjoy the experiment, and please share your results with us!
Thank you for highlighting the dangers of potassium ferricyanide using the International Chemical Safety Data Sheet! Cyanotype is very trendy right now, and online you see people rinsing their crops directly into rivers…
Author
Hello Marine, yes indeed, we were also surprised to find this out, hence the importance of mentioning it at every opportunity. Best regards!
Superb, it's magnificent, I love it!
But where can I find cyanotype 2 solution? I'd like to use it on stones…
Thank you for sharing your experiences.
Sincerely, Myriam
Author
You can find them in stationery stores and art supply stores or online (Amazon, Boesner, etc.); look for them in your area:-)
Good morning.
This technique interests me. I would like to learn it. I could make some lovely things with my grandson who loves artistic activities.
THANKS
Author
Yes, it's really great with children too 🙂