



Log in
Waxed autumn leaves to add colour to life
Themes:
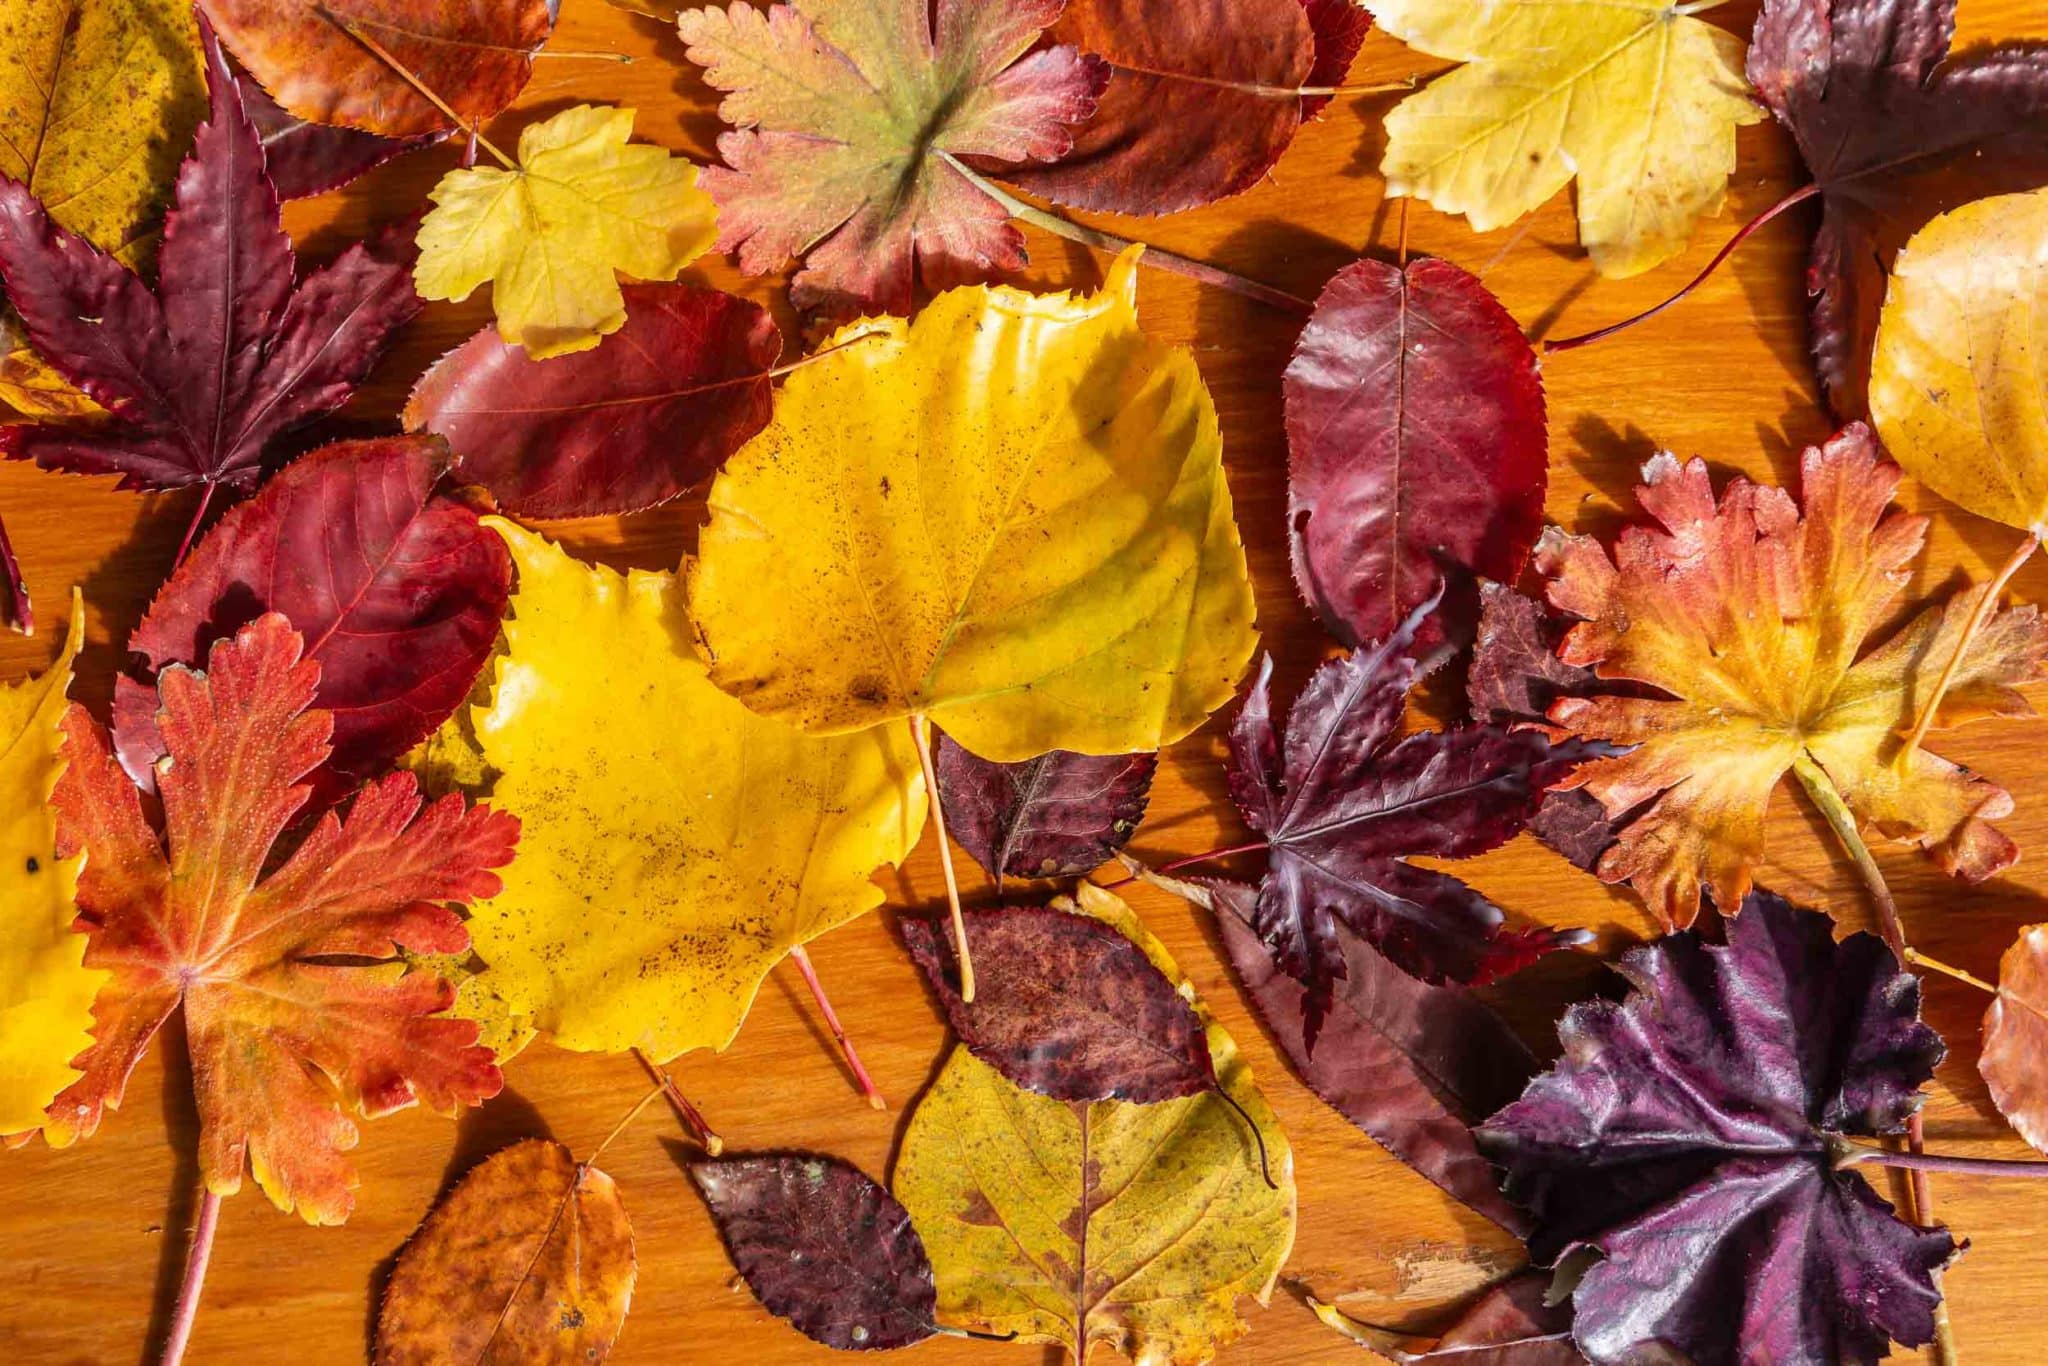
Autumn is the season of colour, thanks to the trees’ leaves blazing with colour, kissed by the cold! That fleeting moment when the colours are intense, just before the leaves turn brown and dry, feels suspended in time. To prolong the beauty of this season a little longer, we have a tip that will help preserve these leaves and the beauty of the season: making waxed leaves with beeswax!
Autumn is a second spring when every leaf is a flower.
Albert Camus
This beeswax treatment will preserve an autumn leaf’s shape and colour much longer than if you used it as it is. Once picked, these leaves will naturally dry out within 24 hours. This technique makes them more stable and durable, so you can incorporate them into a creation with less risk of damaging them.
How can you use them?
I love making ephemeral accessories with them, such as necklaces or brooches. For example, the botanical necklace of hawthorn and aspen leaves, whose creation we explained previously. Using the same technique, we made a new one with dried, waxed leaves of Japanese maples, sycamore maples and Herb-Robert geranium. The wax will keep it intact for months, or even years, depending on how it is stored. You can find more images in our Urban Nature gallery.


I love incorporating them into my wild wreaths and planters. You can also use them as table decorations, or make garlands and hang them wherever you like… the only limit is your imagination. If you’d like to learn this technique with me and use it in a creation, I’m running an autumn wreath-making workshop.
How to make waxed leaves to preserve them
If you want to use them during autumn while their colours are bright, you can wax them while fresh, bearing in mind that they will gradually start to turn brown over the next 3 days. Nevertheless, they will keep for weeks. Some varieties are more delicate than others—for example, geranium and lilac turn brown more quickly, unlike sycamore maple and fern, which are more stable over time. Bear in mind, however, that sunlight and direct exposure to moisture will make them turn brown more quickly.
For longer-lasting preservation, it is best to dry them thoroughly first, before waxing them. However, drying dulls the colours a little, although the beeswax will brighten them up again. The advantage of drying is that they will keep for years, and you can see their final colour before waxing them.
To preserve them properly, it is essential to handle them very gently, without folding them or stacking them on top of one another. If you do need to stack them, place protective paper between the leaves and store them somewhere dry and out of the light.

I use beeswax because it smells so lovely, is very soft and is easy to work with thanks to its malleability. It is very pliable, which means you can easily trim it afterwards if any wax has dripped.
You can use other coloured waxes, but I don’t recommend white wax because it leaves a less natural-looking coating than yellow beeswax.
You can also dilute white glue in water and apply it to the leaves with a brush, but in that case, it’s best to use it on dried leaves.
In summary, here are three ways to do it:
- Use them immediately after picking. They need to be dried, cleaned and flattened for 1 hour between books with newspaper.
- Partially dry them for 2 to 3 nights, flattened between sheets of newspaper with books on top.
- Dry them completely and press them in the same way as described in point 2, or in a homemade flower press, like the one we explained how to make.
Preparing waxed leaves
Equipment
- Equipment for a bain-marie1 saucepan that fits inside the other, with water around it
- A knitting needleto help handle the leaves in the wax
- A pair of tweezers
- Baking parchment
Ingredients
- Beautiful autumn leaves in different colours and shapes
- Beeswax
Instructions
- Pick the leaves with their petioles to make the process easier later! Choose leaves that will fit easily into your water bath—not too large. It is easier to work with sturdy leaves such as maple, plum, beech and dog rose. Very flexible leaves, such as geranium leaves, will work too, but require a steadier hand.
- Dry them if you wish, as explained above.
- Prepare your beeswax, either leftover candle wax or beeswax pellets.
- Set up a water bath with a container wide enough to make handling the leaves easier.
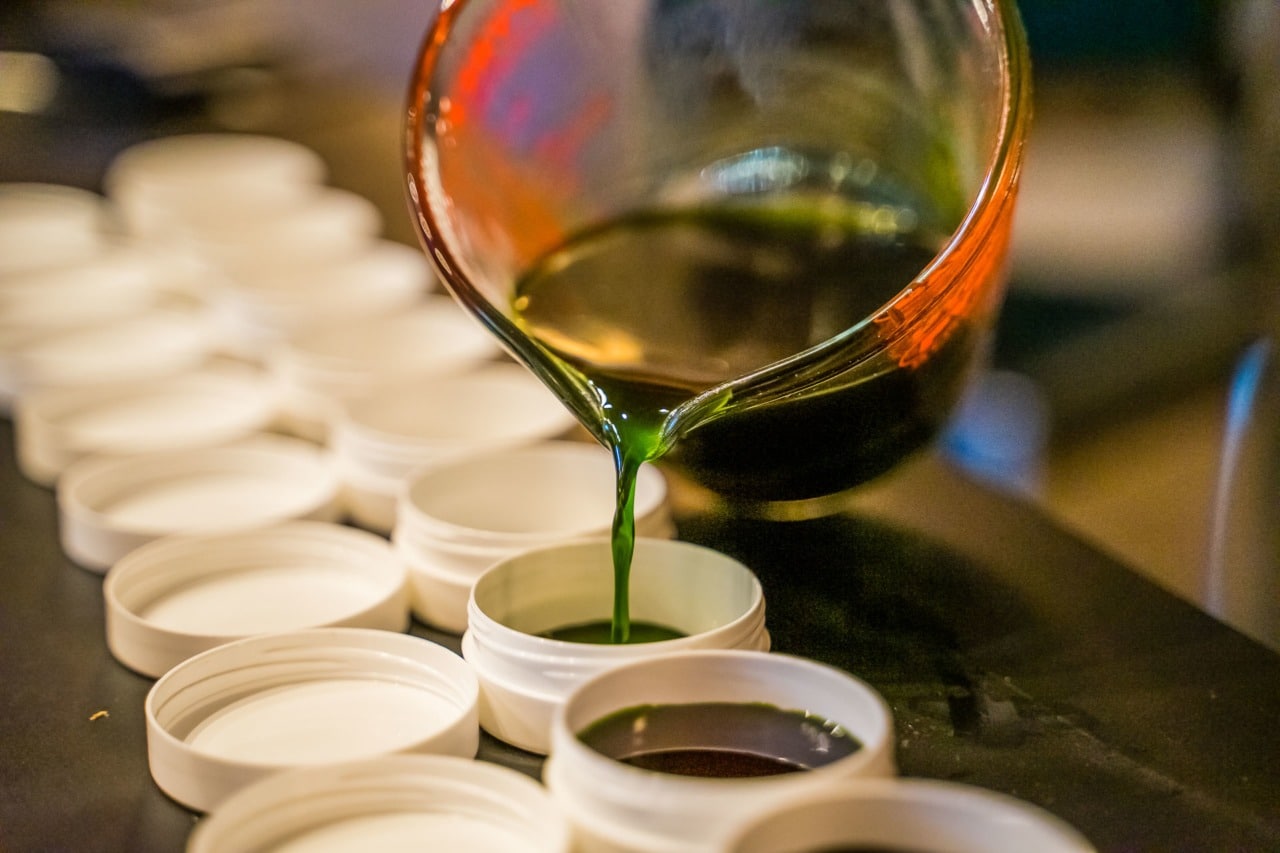
- Melt the wax in a water bath, but do not let the water boil. The wax must not get too hot, or it may damage the leaves. In any case, bear in mind that wax melts at 64°C.
- Hold a leaf by its petiole and quickly dip both sides into the wax.

- When you lift it out, let the hot wax drain off by shaking the leaf gently and wiping its underside against the edge of the water bath.
- Then place the leaf, underside down, on the baking paper.
- If you use leaves with deeply toothed edges, such as geranium leaves, they will curl up in the wax bath. Once the leaf is on the paper, quickly use a knitting needle to flatten the sections of the leaf back into place.
- Wait for it to dry before peeling it off.
- There you are—they're ready for your autumn decorations!



✍️ Leave a comment


Latest articles
Sep. 18, 2026
Greater burdock (Arctium lappa): identification, harvesting and uses
August 27, 2026
Black elderberry: how to recognize it, distinguish it, and cook it
June 12, 2026
Plant Poetry Exhibition 2026
May 7, 2026
Toxicity of wild chervil leaves, Anthriscus sylvestris
March 19, 2026
Botanical Impression in a Rust Pot
25 October
The Pleiades
- Michael Berthoud
Natural incense stick-making workshop
Lally Station, Parking, Blonay, Switzerland.
November 28
The Pleiades
- Marie Mellioret

Making a Christmas star
Lally Station, Parking, Blonay, Switzerland.
November 29
The Pleiades
- Marie Mellioret
Making a Christmas star Sold Out
Lally Station, Parking, Blonay, Switzerland.
21 March
The Pleiades
- Michael Berthoud
Natural incense stick-making workshop
Lally Station, Parking, Blonay, Switzerland.
No events found.
I have lots of dried leaves and was wondering how I could use them without breaking them. Thank you for your wax-based recipe.
Author
You're very welcome—enjoy! 🙂
Hello!
Your work is extraordinary! 🤩
I teach cabinetmaking to young people with learning difficulties. Sometimes a young person with ASD is intolerant of the noise made by machines. I then find other activities for them to do in the workshop, away from the noise, such as woodburning, for example.
Every year I collect lots of pebbles in my native Gaspésie (Quebec, Canada) for him to paint. I love your technique for printing plants onto rocks! However, I can't find the technique in question on your website….
May I ask if it would be possible for you to share your technique with me?! 🙏🏻
Thank you so much! I’ll be following you regularly on Insta from now on!!!!
Summer is in its final stretch. Autumn is just around the corner!
Happy foraging!
Have a lovely day!
Author
Thank you for your interest. This article contains all the information you need to make cyanotype pebbles. All the best, and happy crafting: https://cueilleurs-sauvages.ch/blog/cyanotypes-botaniques-du-bleu-a-l-infini-des-possibles/
Thank you, that’s very clear and easy to follow 😊🙏
Author
Wonderful, happy crafting 🙂